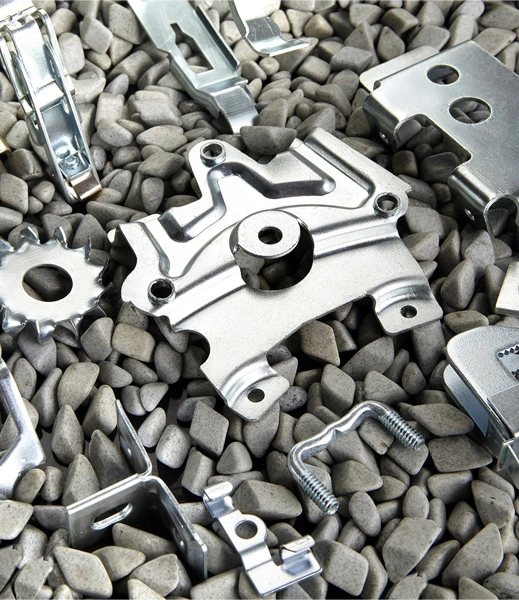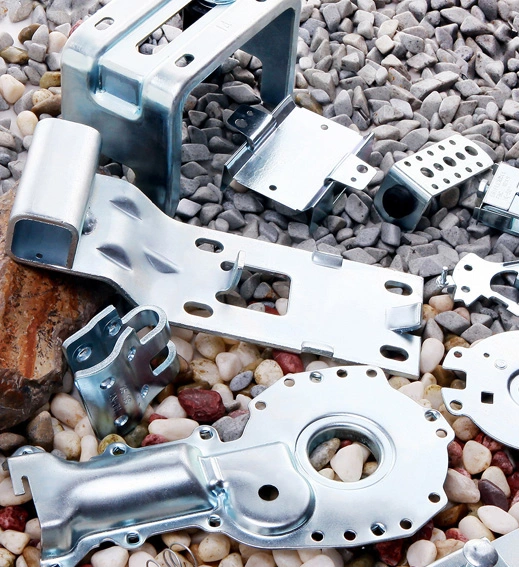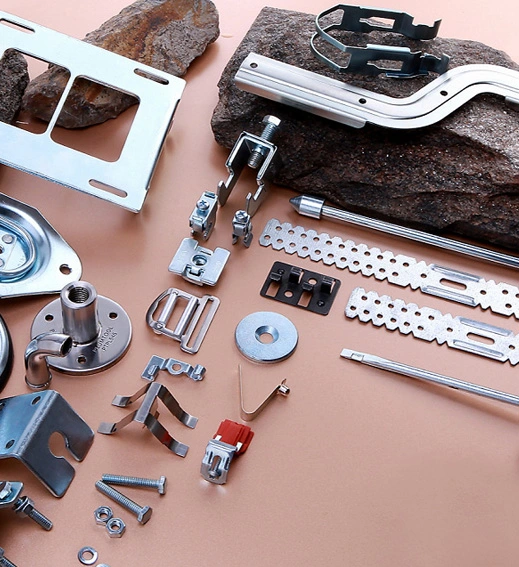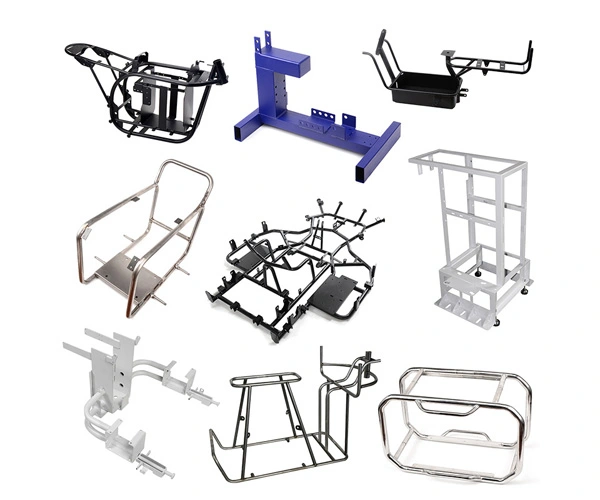

Material: Aluminum/carbon steel/stainless steel
Surface: Mirror finish /powder coating/sand blasting
Customized Size
Main Process: sheet metal bending, pipe bending, and welding
Tolerance: ISO 2768-m
Laser cutting and bending of the electric control box casing, protective casing of the chassis equipment cabinet
Welding defects are mainly divided into the following types:
1. Pores- Common defects in welded joints are divided into internal porosity and surface porosity.
2. Inclusion of slag-The weld seam contains slag or other non-metallic inclusions.
3. Not fully welded-The part left by incomplete fusion at the root of the joint during welding.
4. Not fused-The incomplete fusion and bonding between the base metal during spot welding.
5. Cracks- According to their morphology and causes, they can be divided into hot cracks, cold cracks, reheat cracks, lip tearing, etc.
6. Bite the edge- The groove generated at the weld toe below the surface of the base metal during welding due to the incomplete coverage of the deposited metal on the melted part of the base metal.
7. Weld nodules- Metal nodules formed when the molten metal during welding is not completely covered by the molten metal of the welding rod.
8. Pit- Pits formed during the welding process that are lower than the surface of the weld seam.
9. Surface cracks. Cracks located on the outer surface of the weld seam.
10. Surface pores- Pores located on the outer surface of the weld seam.
11. Burn through- During welding, the welded part is completely melted and penetrates to the other side.
12. Arc crater- The arc crater formed during the welding process.
13. Clear cold shrinkage hole- Cold shrinkage holes formed during the welding process.
14. Overburnin- The burnt area formed during the welding process.
15. The weld size does not meet the requirements. Such as welding seams

