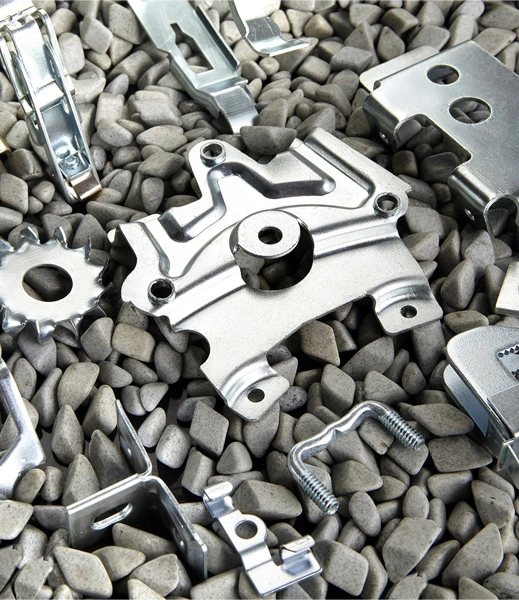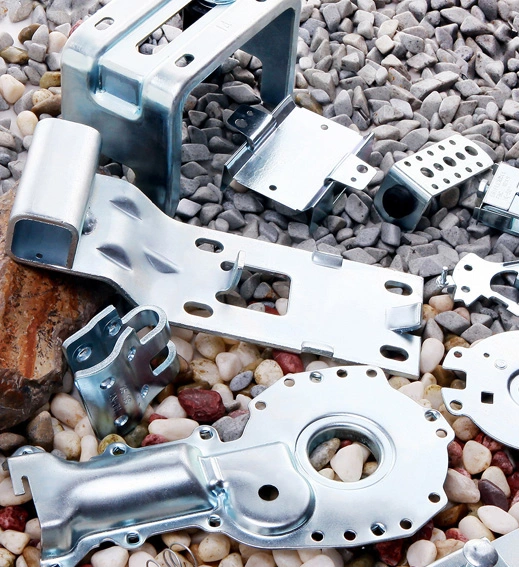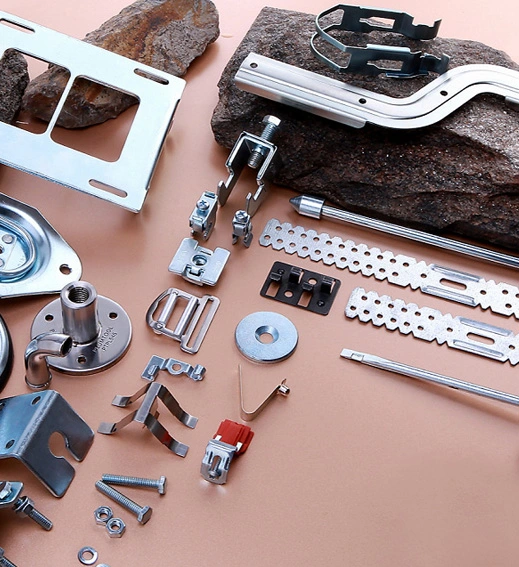

Material: Aluminum/carbon steel/stainless steel
Surface: Mirror finish /powder coating/sand blasting
Customized Size
Main Process: sheet metal bending, pipe bending, and welding
Tolerance: ISO 2768-m
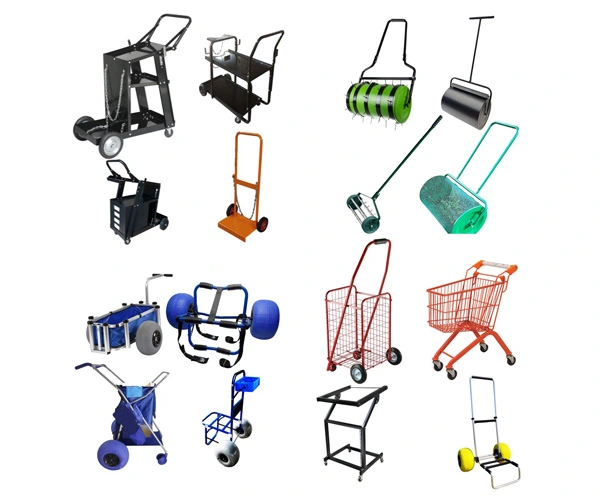
Tool cart, shopping cart, working table
Ⅰ. Appearance inspection
Observe with the naked eye or magnifying glass for defects such as undercutting, burning through, incomplete welding, and cracks, and check whether the external dimensions of the weld meet the requirements
Ⅱ.Secondary sealing inspection
Containers or pressure vessels such as boilers, pipelines, etc. shall undergo sealing tests on their welds. There are several types of sealing tests, including water pressure test, air pressure test, and kerosene test.
(1) Water pressure test
Water pressure test is used to check the sealing of welds and is the most commonly used sealing inspection method in welded containers.
(2) Air pressure test
Pneumatic testing is more sensitive and rapid than hydraulic testing, and is often used to check the sealing of low-pressure vessels and pipelines. Inject compressed air into the container and apply soapy water to the surface of the weld seam. If soap bubbles appear, it is the location of the defect.
(3) Kerosene test
Apply white paint on one side of the weld seam, wait for it to dry, and then apply kerosene on the other side. If there are minor cracks or penetrating pores in the weld seam, kerosene will penetrate and show obvious oil spots on one side of the paint, revealing the defect location.
Ⅲ.Non destructive testing of internal defects in three weld seams
1. Penetration inspection
Penetration testing is a non-destructive testing method that utilizes the penetration effect of a penetrant containing fluorescent or red dyes to display defect traces. Commonly used methods include fluorescence testing and dye penetrant testing. Spray a red dye with good penetration on the surface of the cleaned welded joint, and wipe off the surface of the welded joint after penetrating the defects on the surface. Apply another layer of white display solution, and after drying, the colorant that infiltrates into the weld defect is adsorbed by the white display solution due to capillary action, presenting red marks of the defect on the surface. Penetration testing can be used on any surface smooth material.
2. Magnetic particle inspection
Magnetic particle inspection is the process of magnetizing a welded piece in a strong magnetic field, allowing magnetic field lines to pass through the weld seam. When encountering defects on or near the surface of the weld seam, magnetic leakage occurs, attracting magnetic oxide powder scattered on the surface of the weld seam. The location and size of defects can be determined based on the traces of iron powder adsorption. Magnetic particle inspection is only applicable to the inspection of defects on or near the surface of ferromagnetic materials.
3. Ray inspection
There are two types of radiographic testing: X-ray and Y-ray. When the radiation passes through the inspected weld seam, if there are defects, the attenuation of the radiation passing through the defect area is relatively small. Therefore, the film on the back of the weld seam has strong sensitivity. After the film is washed, black spots or stripes will appear at the defect area. The X-ray irradiation time is short and the speed is fast, but the equipment is complex and expensive, and the penetration ability is smaller than that of Y-rays. The thickness of the tested piece should be less than 30mm. The Y-ray inspection equipment is lightweight, easy to operate, has strong penetration ability, and can illuminate 300mm steel plates. No power supply is required for translucency, making field operations convenient. But when detecting welds below 50mm, the sensitivity is not high.
4. Ultrasonic examination
Ultrasonic inspection is the use of the principle that ultrasonic waves can propagate inside metals and reflect and refract when encountering interfaces between two media to detect internal defects in welds. When ultrasonic waves enter the interior from the surface of the weld through the probe, they reflect when encountering defects and the bottom of the weld. After being received by the probe, a pulse waveform is displayed on the screen. Based on the waveform, the presence and location of defects can be determined. But it is not possible to determine the type and size of defects. Due to the presence of a reflective surface between the probe and the test piece, adhesive should be applied to the surface of the piece during ultrasonic inspection.
The difference lies in the different techniques used in the detection methods of the four
UT ultrasound, a small instrument that is simple and convenient, but requires a high level of technical proficiency from the operator, can detect internal defects
MT magnetic powder requires a magnetic powder machine, which has a large volume and requires AC power supply, making construction inconvenient
PT penetration is even simpler than ultrasound, using cleaning agents, colorants, and imaging agents can only detect surface defects
RT radiographic testing has two types: X-rays and gamma rays. The former has lower radioactivity, while the latter involves radioactive contamination and higher risk factors. However, RT is also a method that can accurately detect and leave the most direct evidence (X-ray film), so it is more commonly used.

